-
Mediterranean Blooms Class by Mail

")


-
Take to the Sky Class by Mail

")


-
A Little Latte Class by Mail

")


-
Lighter than Air Class by Mail

")


-
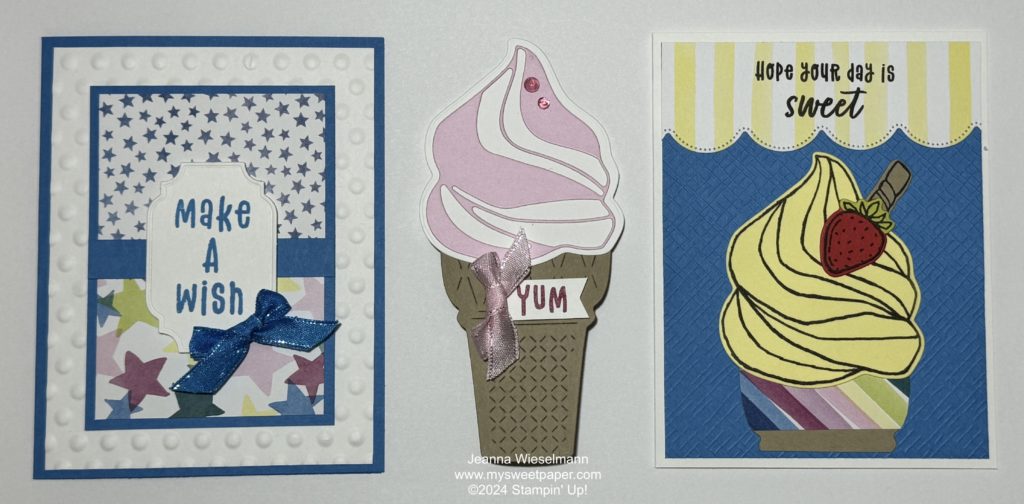
Ice Cream Swirl Class by Mail
")


-
Trusty Tools Class by Mail

")


-
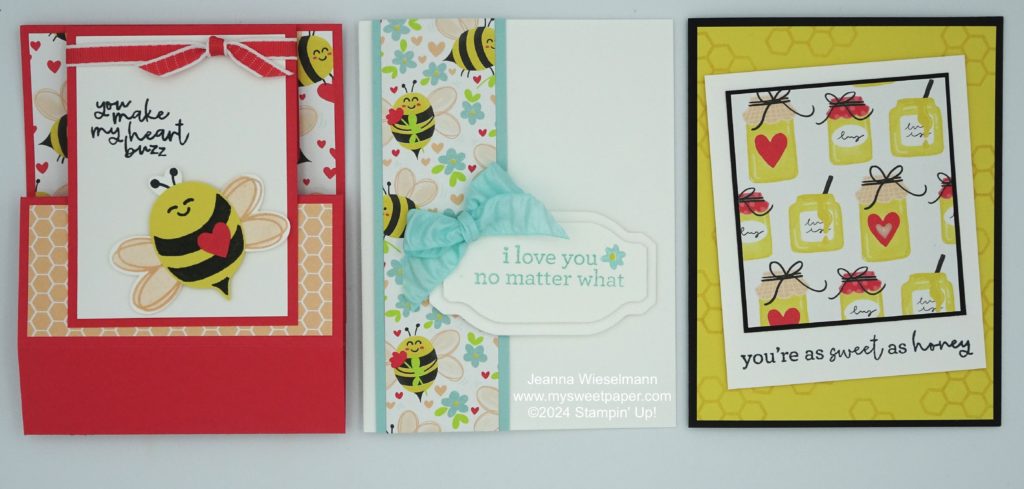
Bee Mine Class by Mail
")

-
Year to Celebrate Class by Mail

 Circle Punch")

-
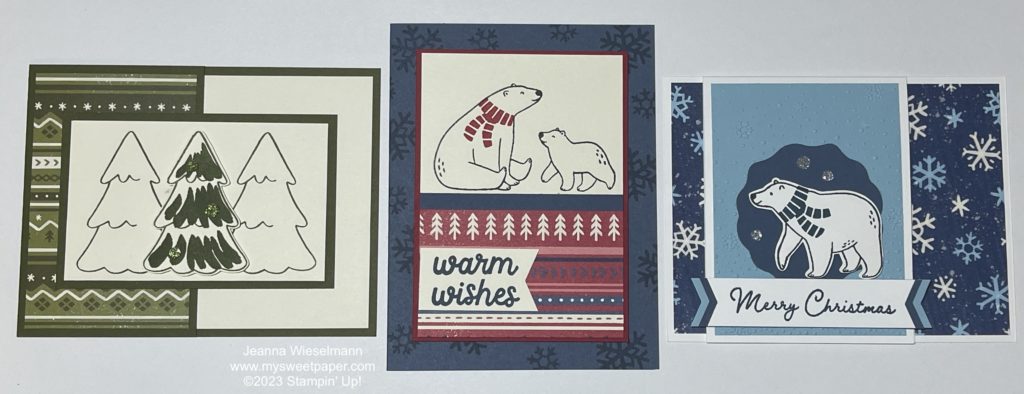
Beary Christmas Class by Mail
")


-
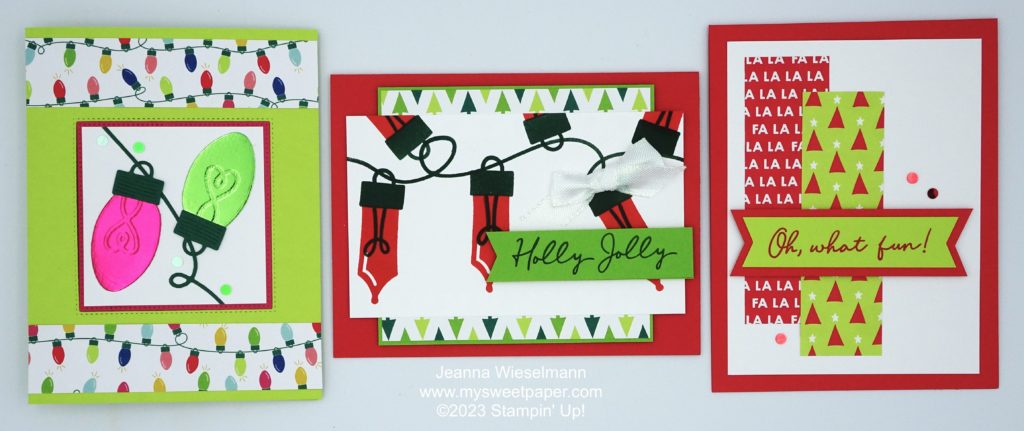
Merry Bold & Bright Class by Mail
")
 Designer Series Paper")


 Designer Series Paper")

 Designer Series Paper")


 Designer Series Paper")


 Designer Series Paper")
 Sheer Ribbon Combo Pack")


 Designer Series Paper")


 Designer Series Paper")

 Bordered Ribbon")
 Crinkle Ribbon")


")
 Designer Series Paper")
 Foil Sheets")

 Metallic Woven Ribbon")
 Iridescent Ribbon")


 Designer Series Paper")


