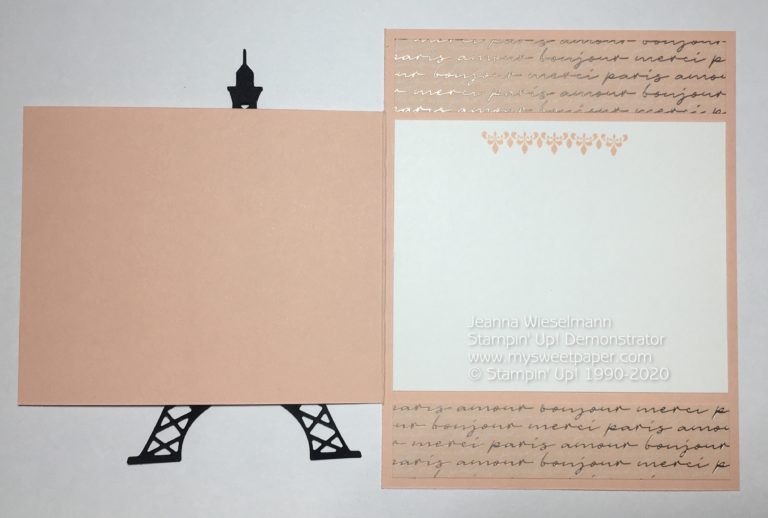
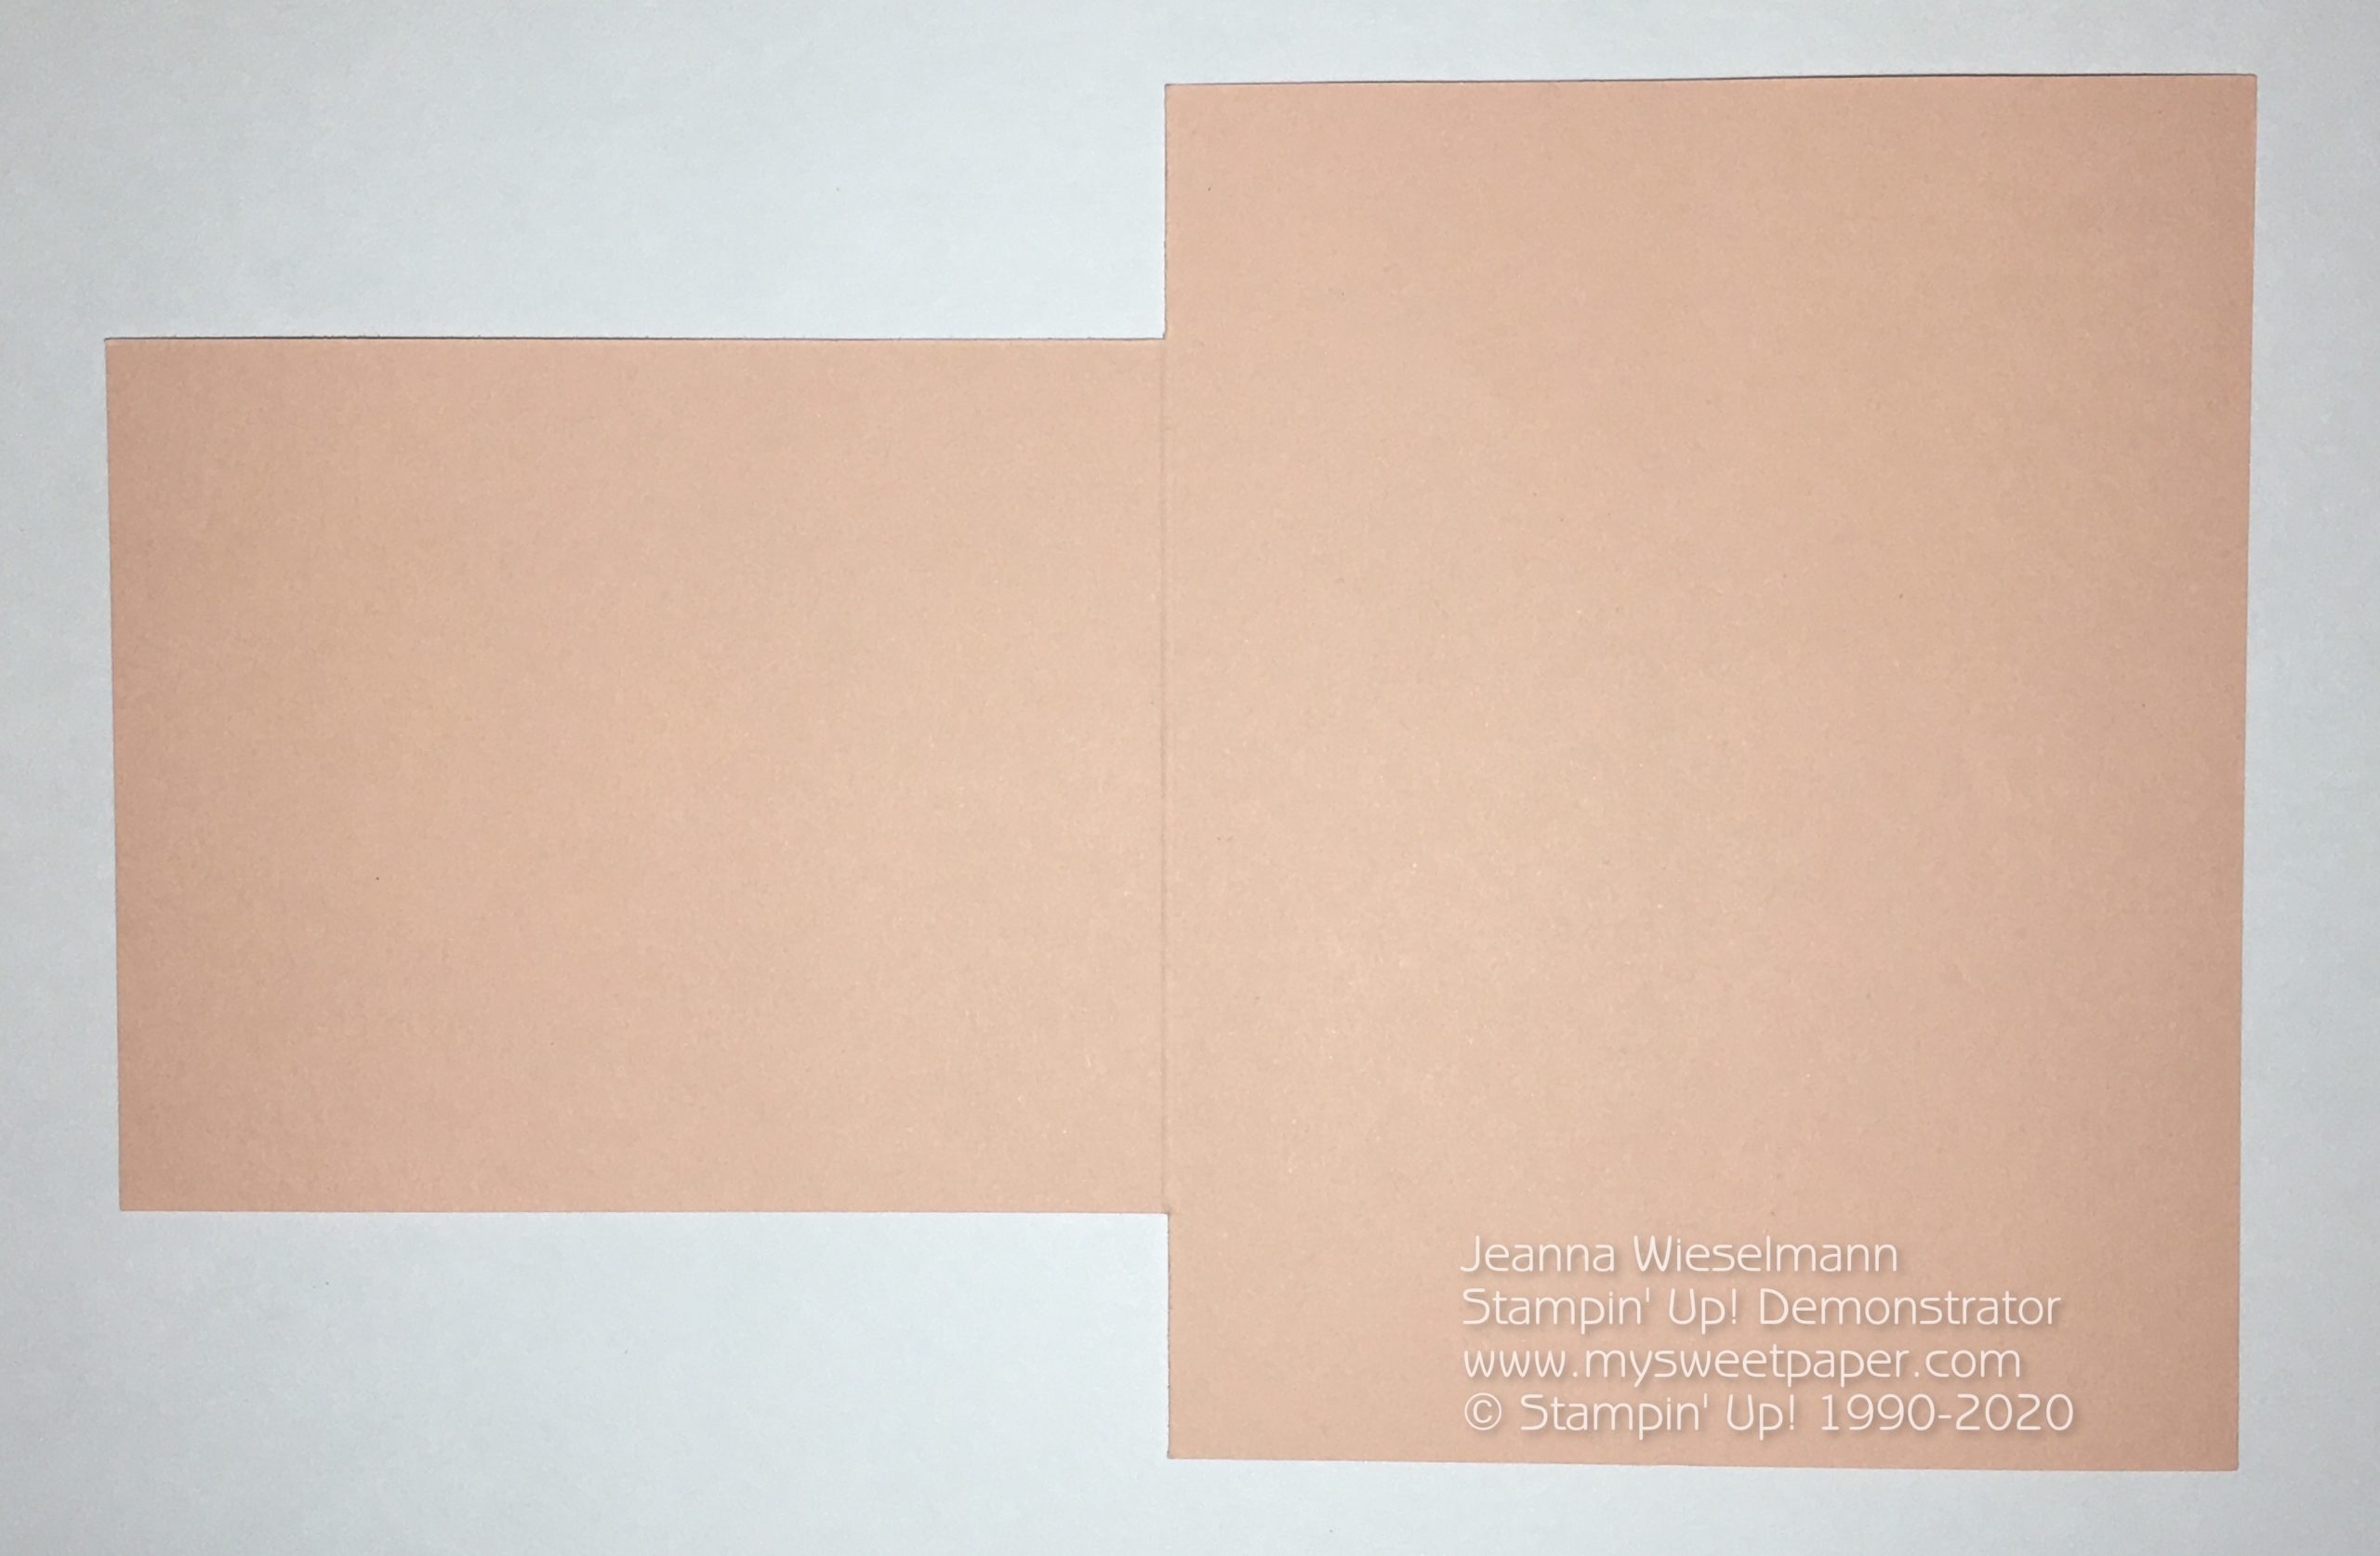
• Fun Fold,  January-June 2020 Mini Catalog,  Thank You

    Parisian Thank You

    I was immediately drawn to the Parisian Blossoms suite of Stampin’ Up! products. The champagne foil elements on the Parisian Blossoms Specialty Designer Series Paper, the gorgeous dies, a great color combination… what’s not to love! I tried to resist purchasing the set, but after five of my planned trips (Portland, San Francisco, Arizona, Vancouver, and Montreal) were cancelled due to COVID-19, I decided a little travel nostalgia was in order.

    My now-husband and I visited Paris together in 2010, when we had only been dating for about four months. Looking back, I can’t believe we dove into traveling together in such a big way, but our separate European study abroad trips happened to align, with his concluding and mine having a long break at the same exact time. We independently traveled to Paris, met up in the airport, and proceeded to explore the city together. Being college students, we did everything “on the cheap,” but it was still an amazing trip. The Eiffel Tower is stunning, and we definitely want to visit again some day!

    The stamps, dies, and Designer Series Paper I use for this card are now listed as Last-Chance products. This means they’re only available until June 2 or while supplies last!

    Card Tutorial

    Prep Card Base

    1. Cut 8 1/2" x 5 1/2" Petal Pink cardstock. Score at 4 1/4".

    2. Using the Paper Trimmer, cut a 1" chunk out from the top and bottom of the card front. Make sure to cut only to the score line, as shown.

    Die Cutting

    3. Die cut an Eiffel Tower out of Basic Black cardstock measuring approximately 5″ x 3″.

    4. Die cut “merci” out of Basic Black cardstock measuring approximately 2 3/4″ x 5/8″. Make sure to save the small circle for the “i”!

    5. Die cut the flourish out of Pool Party cardstock measuring 2 3/4″ x 1 3/4″.

    Stamping

    6. Use Petal Pink ink to stamp the flourish at the top of Whisper White cardstock measuring 4″ x 3 1/4″.

    Assembly

    7. Use a bone folder to fold the Petal Pink card base in half.

    8. With card closed, use Snail adhesive to adhere two pieces of Parisian Blossoms Specialty DSP measuring 4″ x 7/8″ to the top and bottom. NOTE: Use the top and bottom of the card front to guide your placement. There should be NO space between the top/bottom of the card front and the DSP.

    9. Use Snail adhesive to adhere a piece of Parisian Blossoms Specialty DSP measuring 4″ x 3 1/4″ to card front.

    10. Use Multipurpose Liquid Glue to adhere die cut Eiffel Tower to card front. NOTE: Make sure you don’t apply glue to the top or bottom portions of the Eiffel Tower, where it will hang off the card front.

    11. Use the Detailed Trio punch to round the corners of a piece of Pool Party cardstock measuring 2 3/4″ x 5/8″. 

    12. Use Multipurpose Liquid Glue to adhere “merci” to the Pool Party cardstock.

    13. Use Stampin’ Dimensionals to secure the die cut flourish to the back of the “merci” and Pool Party assembly. Add additional Dimensionals, and secure this whole assembly to the card front.

    I hope you enjoyed this card design! I’ve linked all the supplies I used below, and you can order them by clicking the supply images or selecting “Place a Stampin’ Up! Order” along the top of the screen.