-
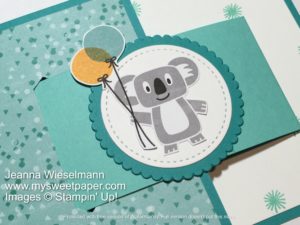
Playful Pets Class by Mail


-
Flowers for Every Season Class by Mail


-
In Good Taste Class by Mail
")


-
Ornate Garden Class by Mail

")


 Circle Punch")


-
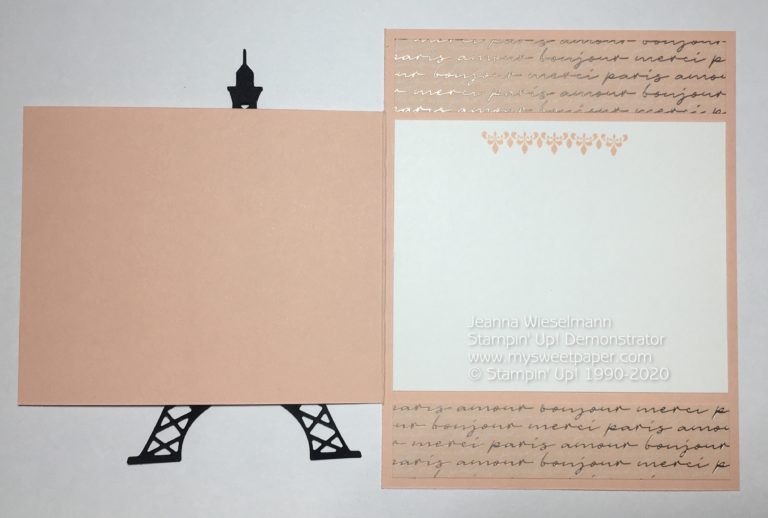
Parisian Thank You


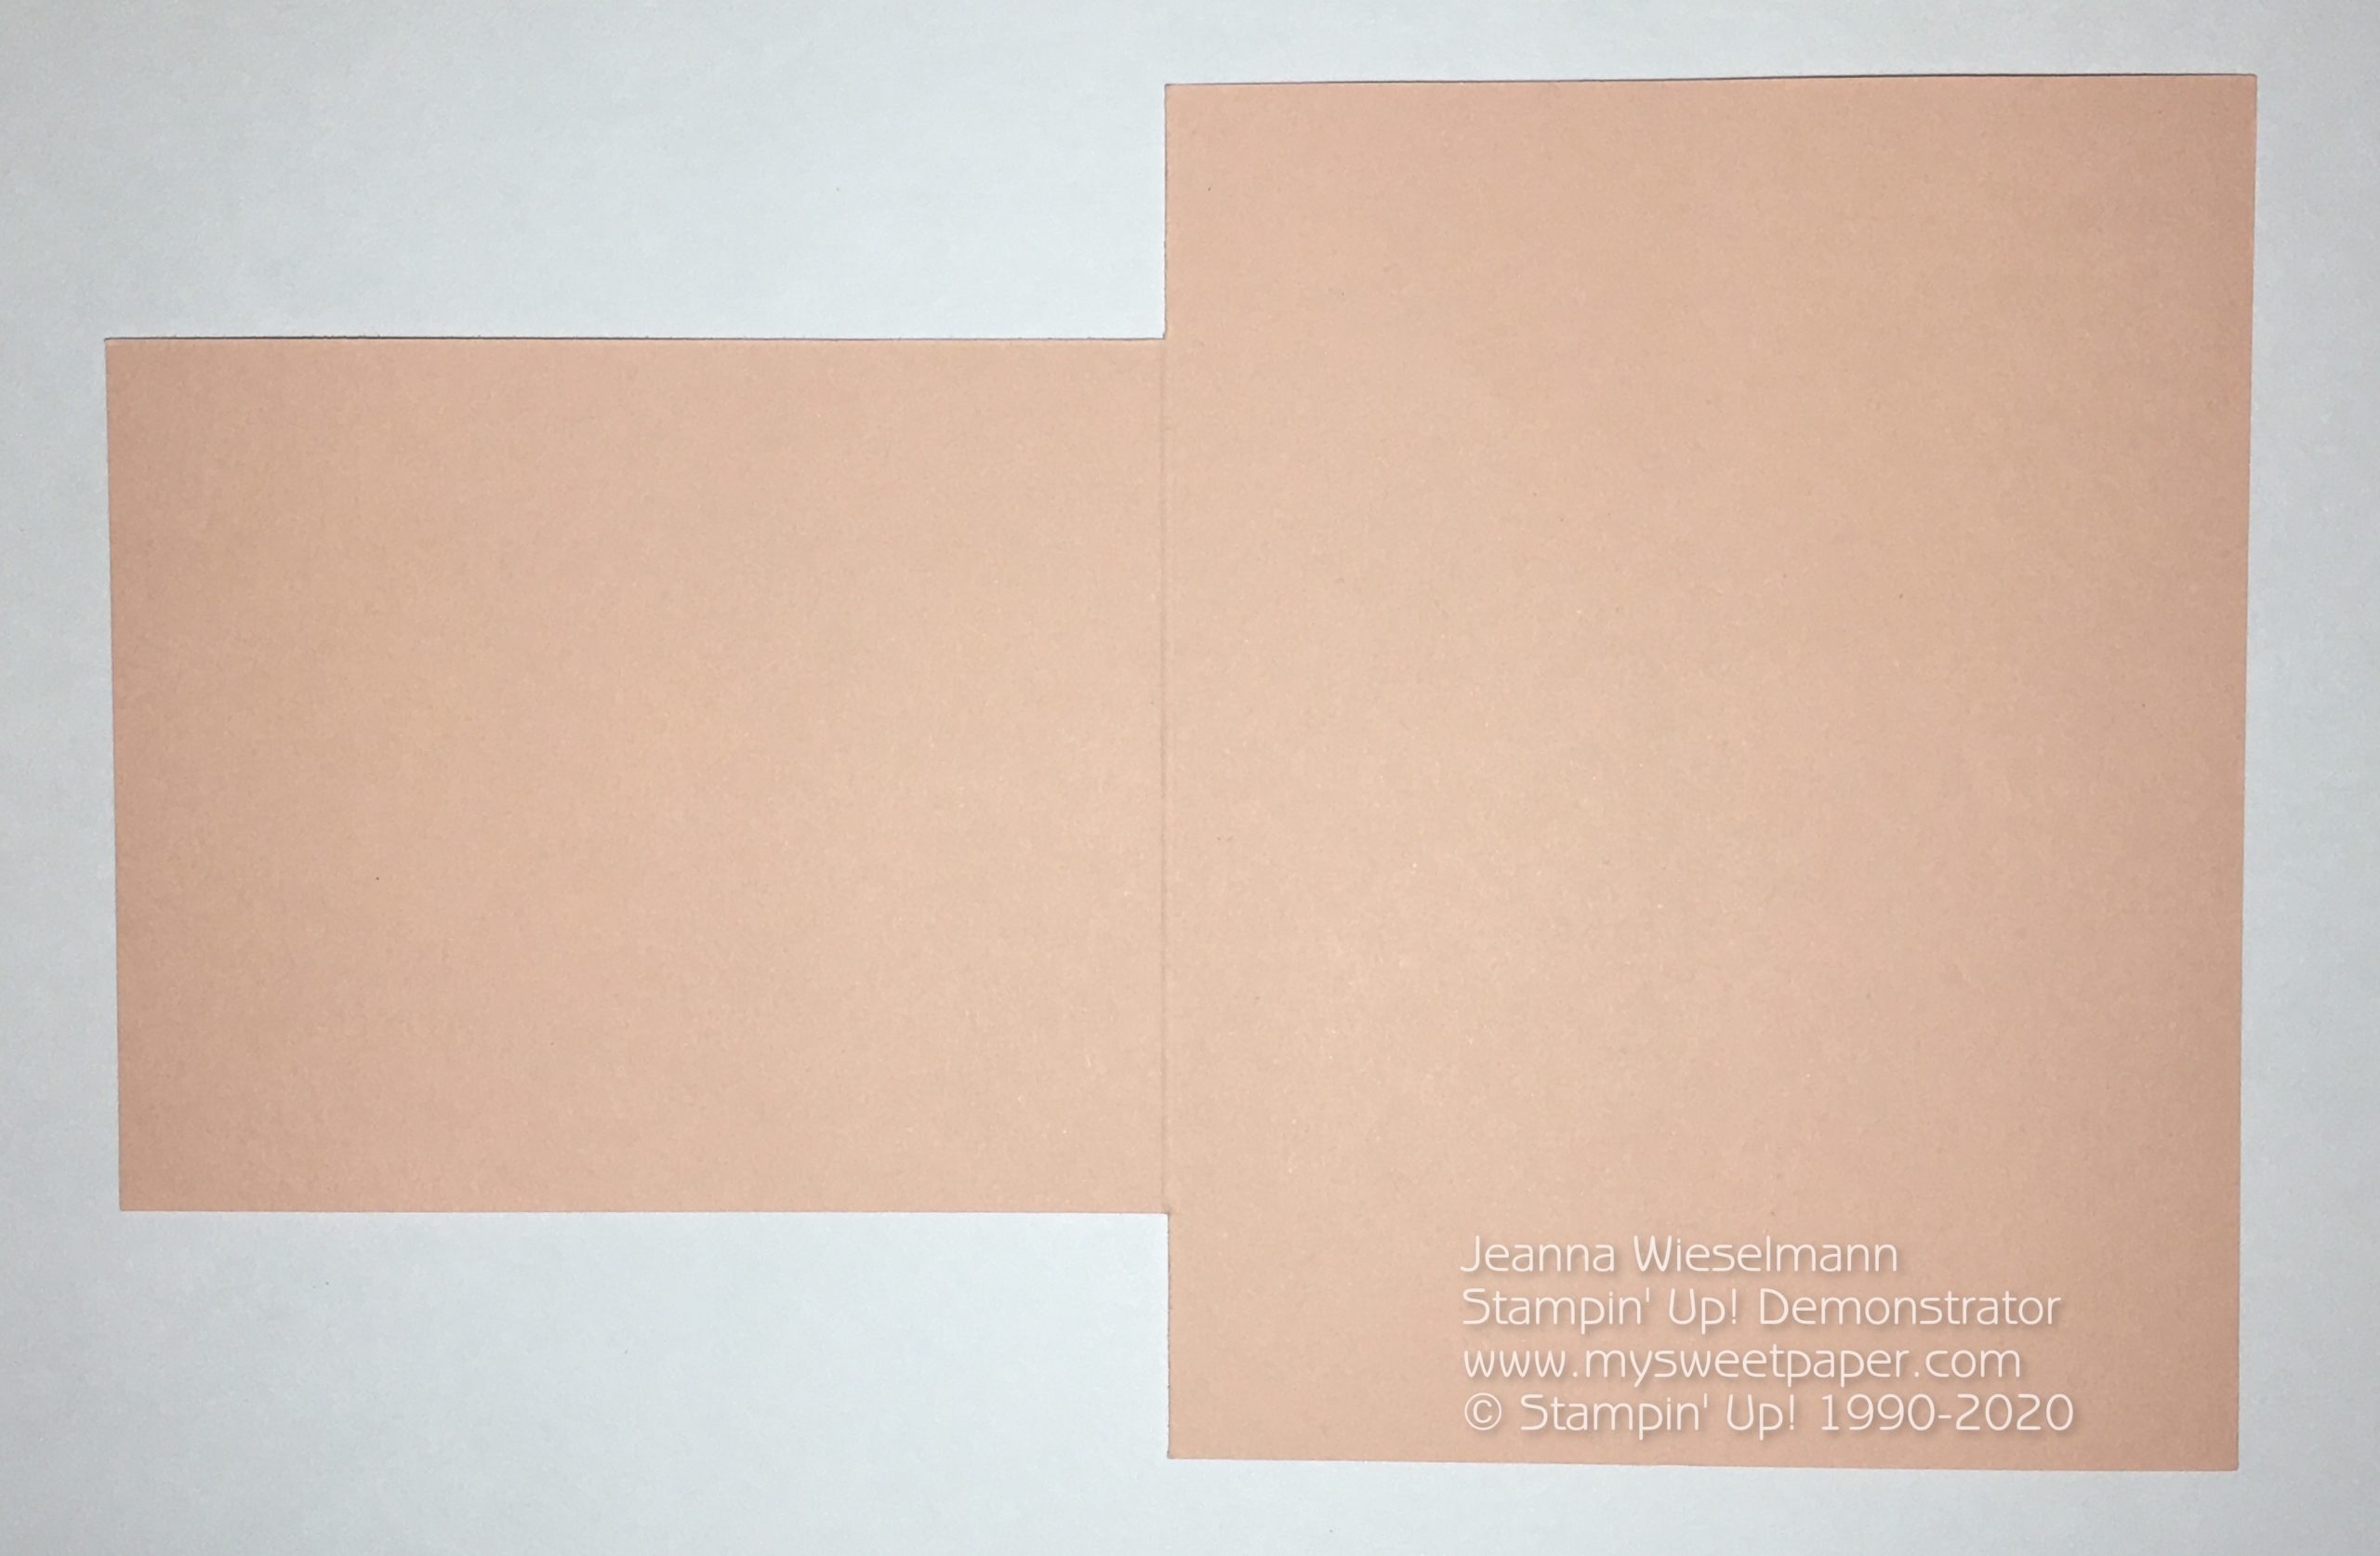
Prep Card Base
1. Cut 8 1/2" x 5 1/2" Petal Pink cardstock. Score at 4 1/4".
2. Using the Paper Trimmer, cut a 1" chunk out from the top and bottom of the card front. Make sure to cut only to the score line, as shown.

")

-
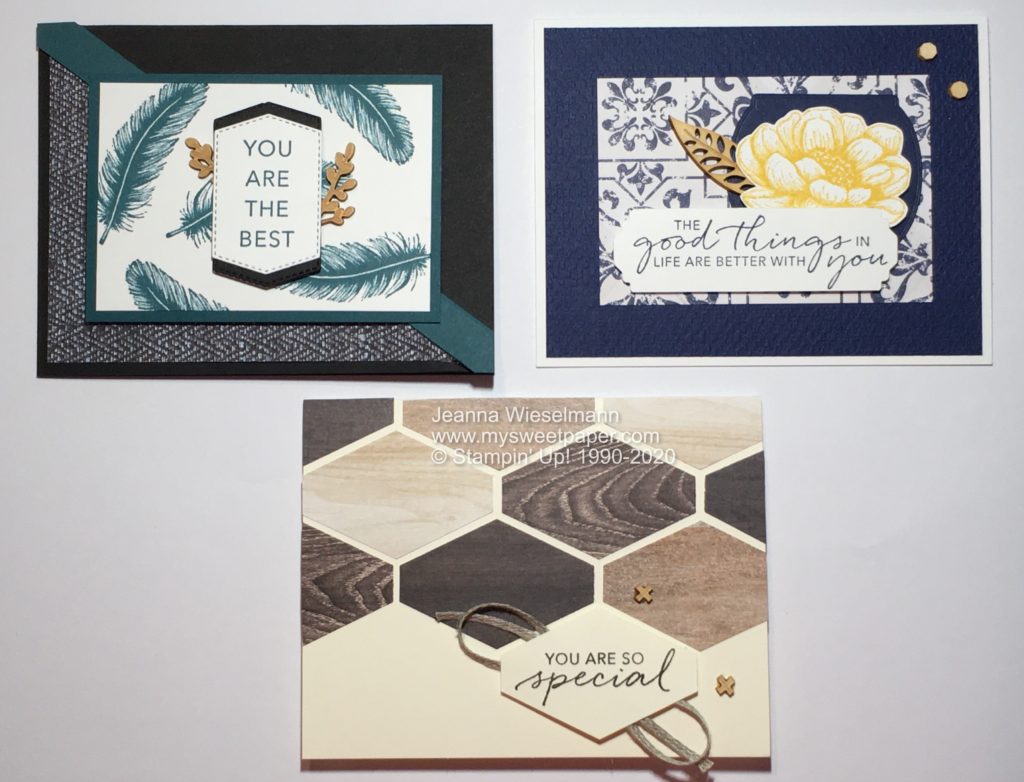
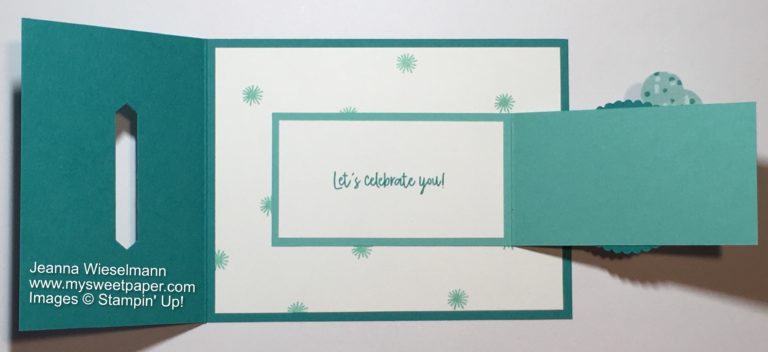
Birthday Bonanza Class by Mail


-
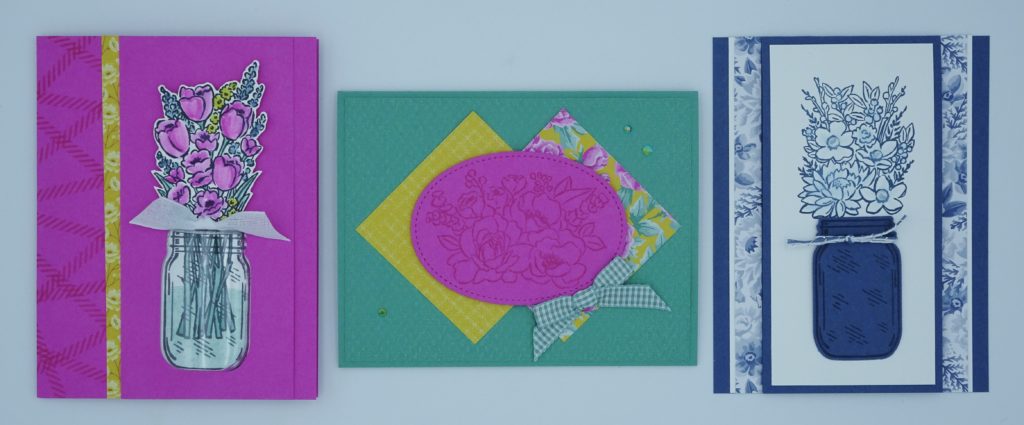
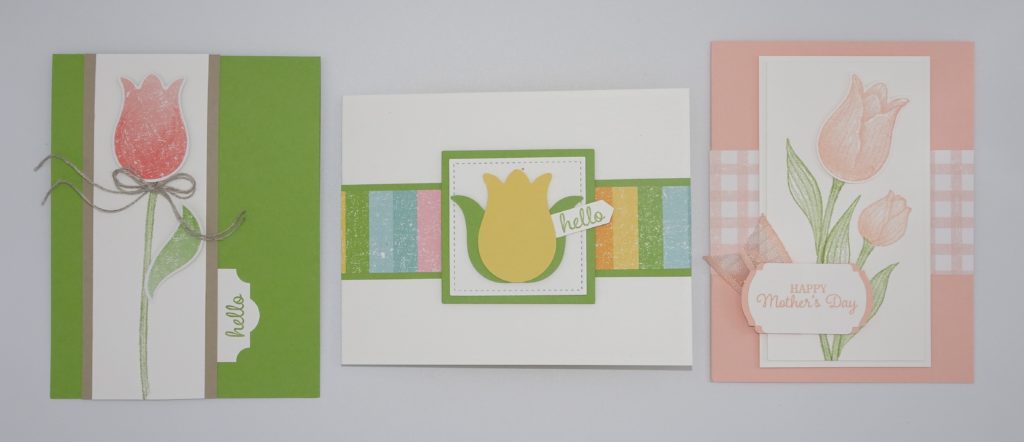
Timeless Tulips Class by Mail
")


-
Birthday Bonanza Buckle Fold

-
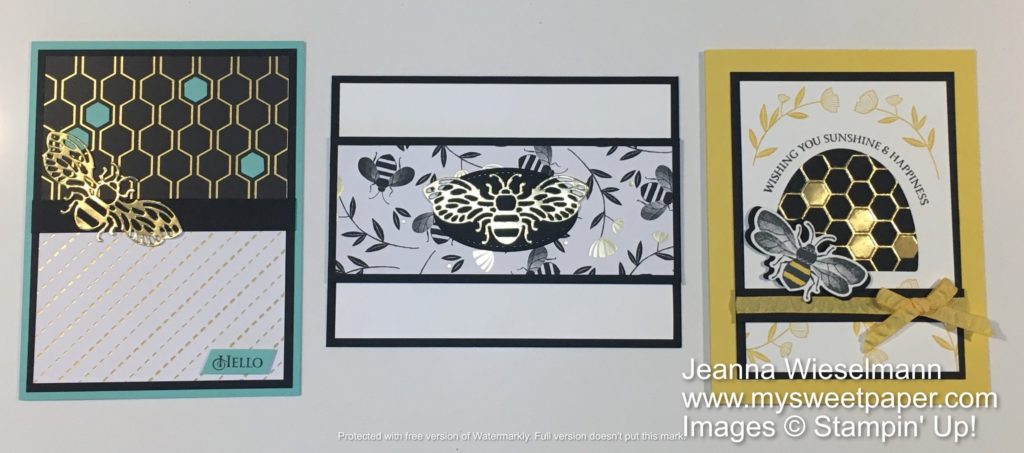
Honey Bee Class by Mail


-
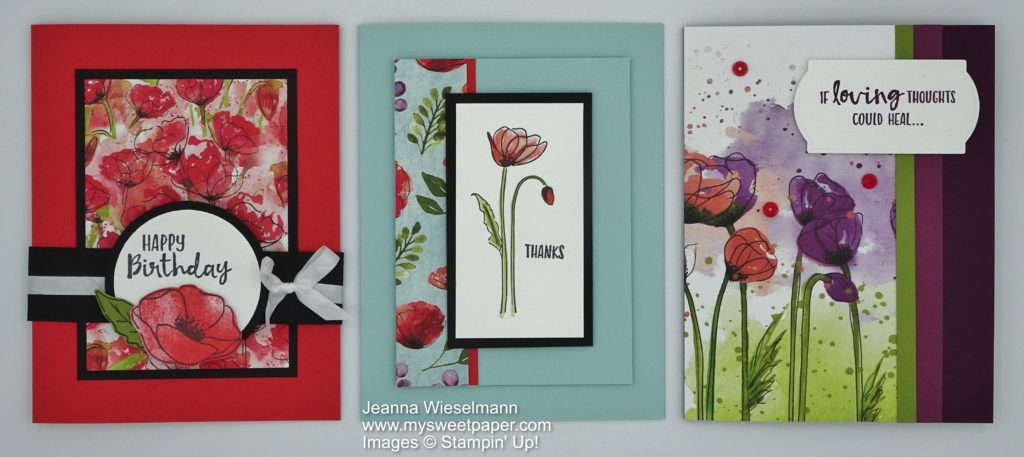
Peaceful Poppies Class by Mail


 Circle Punch")
 Circle Punch")


 Designer Series Paper")


 Braided Linen Trim")


 Cardstock")


 Crinkled Seam Binding Ribbon")


 Organdy Striped Ribbon")


 Ruched Ribbon")


")


