-
Sailing Home Sampler
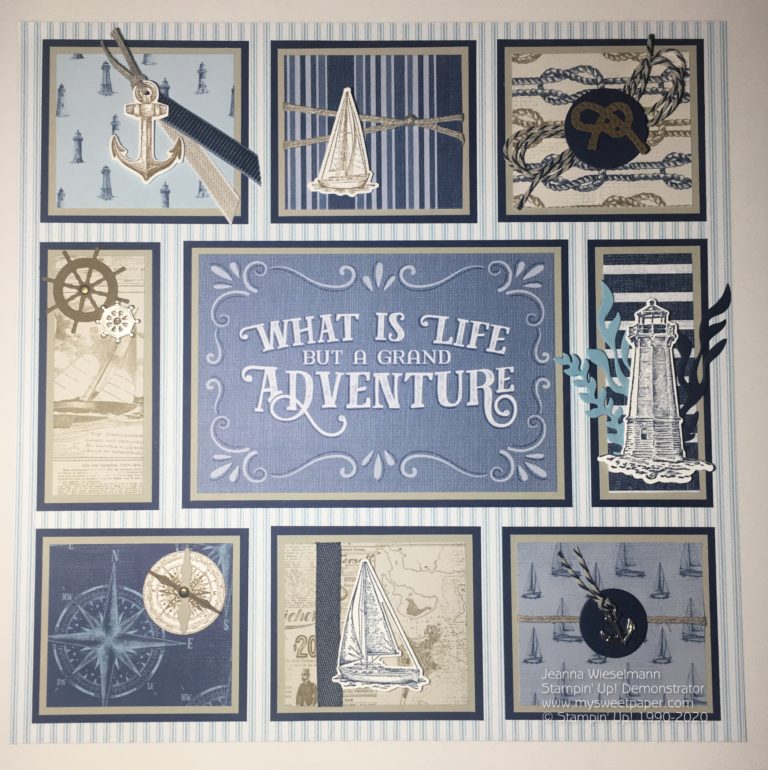


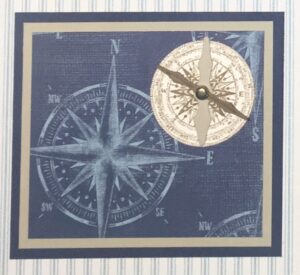
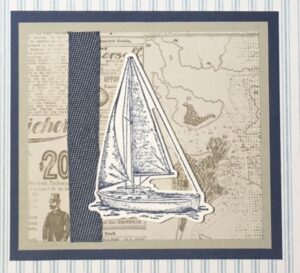


 Denim Ribbon")
 Corduroy Ribbon") Night Of Navy 3/8″ (1 Cm) Corduroy Ribbon[145597]$8.00
Night Of Navy 3/8″ (1 Cm) Corduroy Ribbon[145597]$8.00
-
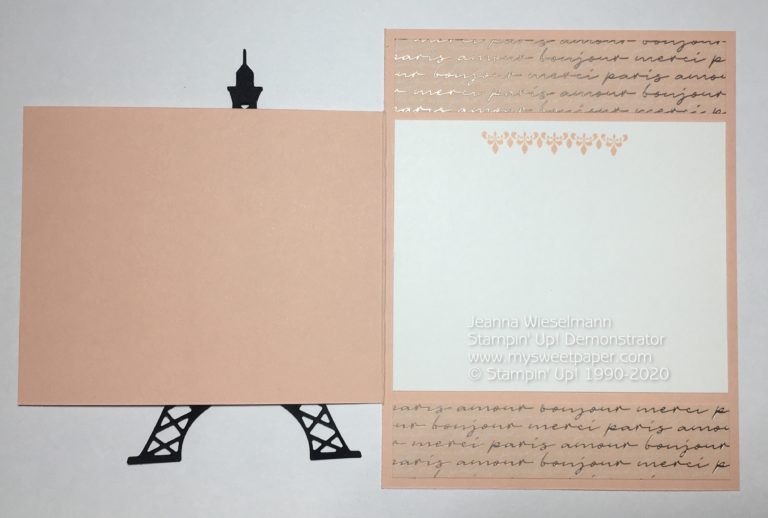
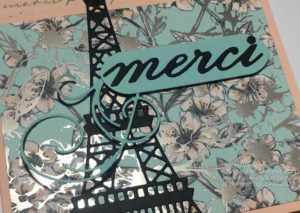
Parisian Thank You


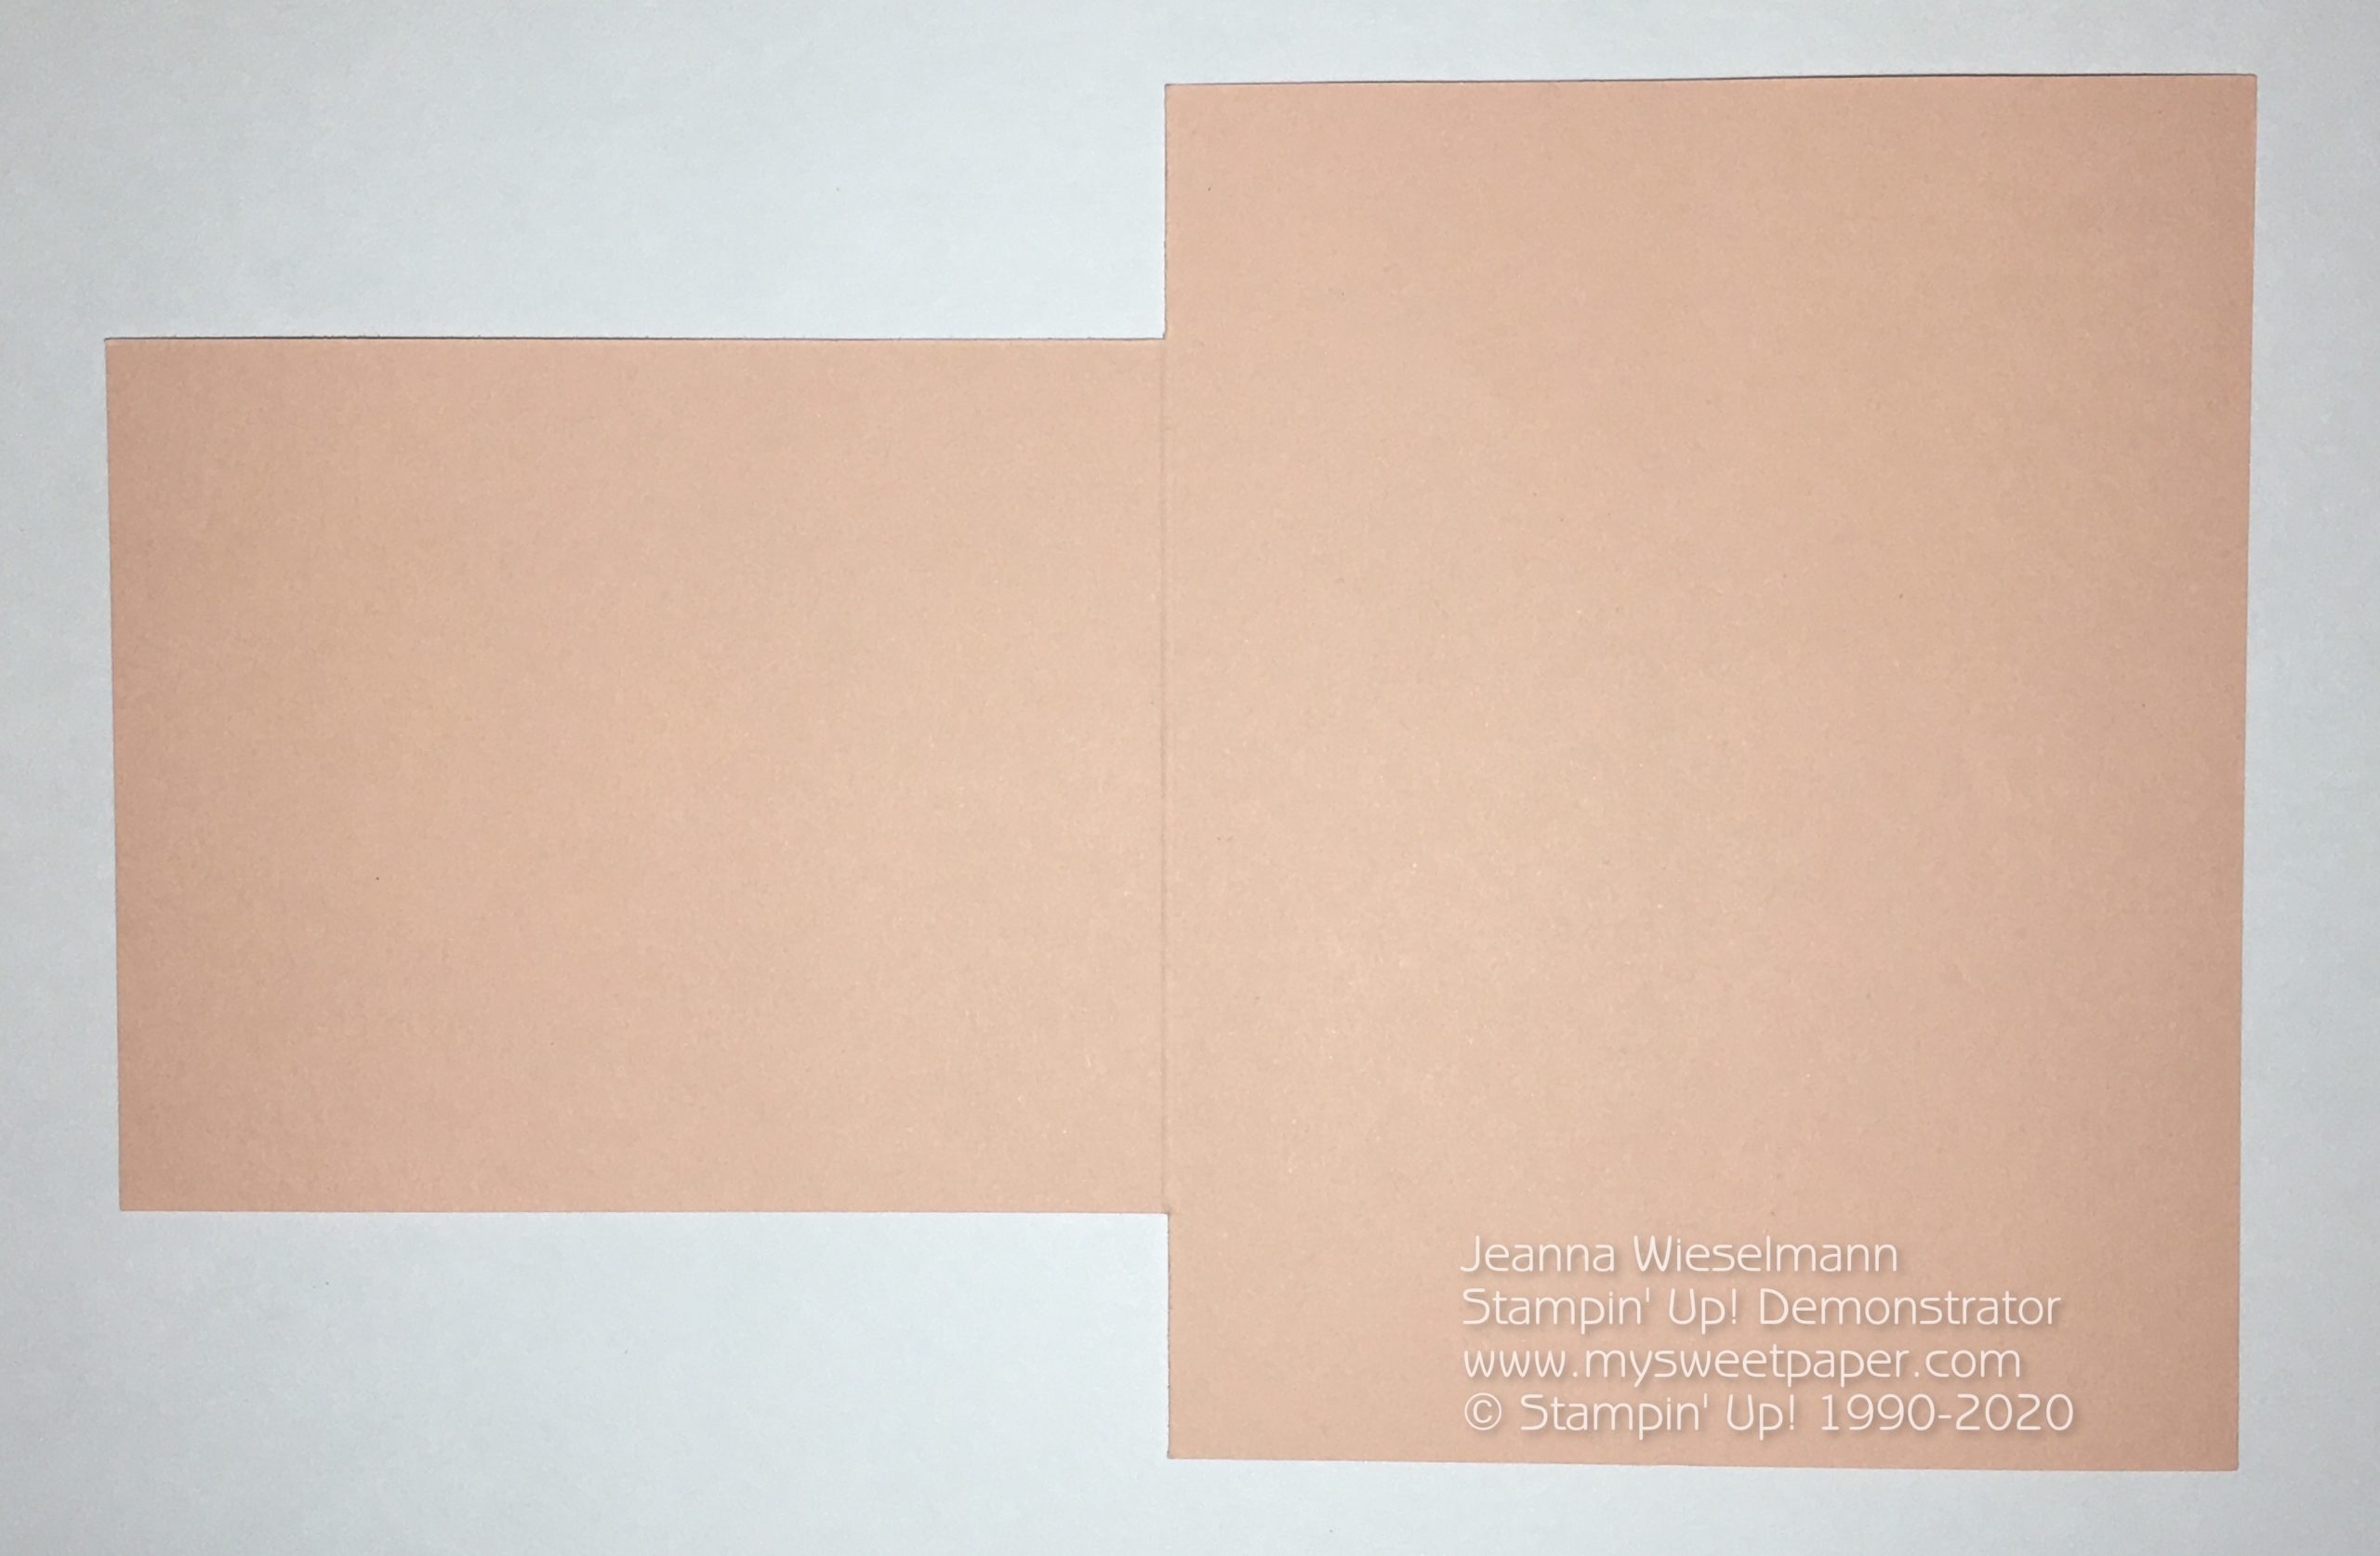
Prep Card Base
1. Cut 8 1/2" x 5 1/2" Petal Pink cardstock. Score at 4 1/4".
2. Using the Paper Trimmer, cut a 1" chunk out from the top and bottom of the card front. Make sure to cut only to the score line, as shown.
")


-
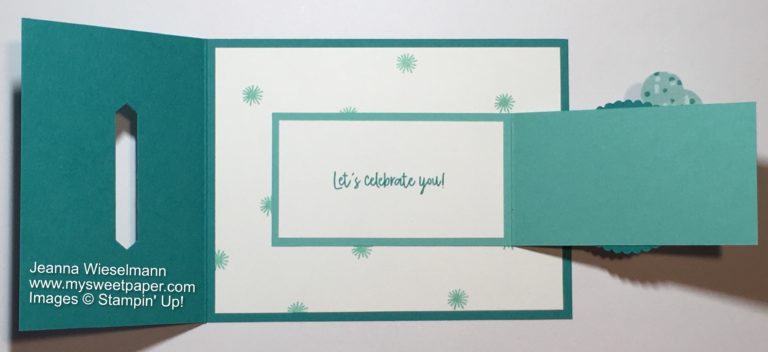
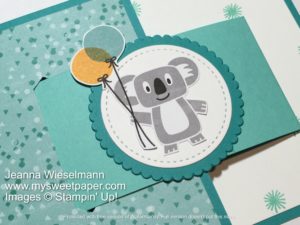
Birthday Bonanza Class by Mail


-
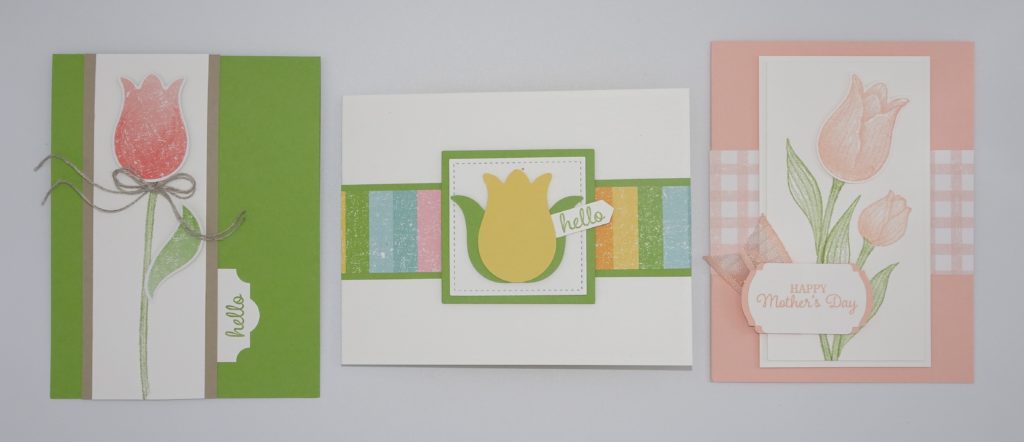
Timeless Tulips Class by Mail
")


-
Birthday Bonanza Buckle Fold

-
Wedding Card Design

 Embossing and Coloring
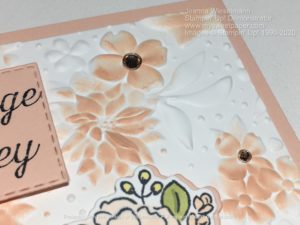
4. Use the Country Floral 3D Embossing Folder to emboss a Whisper White piece of cardstock cut to 5 1/4″ x 4″.
5. With a Sponge Dauber dipped in Petal Pink ink, use a light circular motion to add ink to flowers on the embossed cardstock. Start with a small amount of ink and add on to reach the desired color intensity. This is meant to look random and imperfect, so don’t worry about even or accurate coverage!
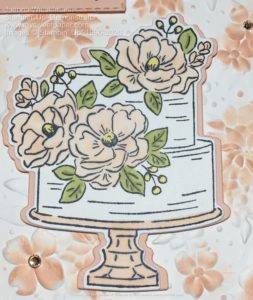
6. Use Stampin’ Blends to add color to the stamped cake image. I used Dark and Light Petal Pink for the cake stand and flowers, with Light Daffodil Delight for accents. Old Olive (both light and dark) finished out the coloring of the leaves. (See final image on the bottom of the page for more detail.)
-
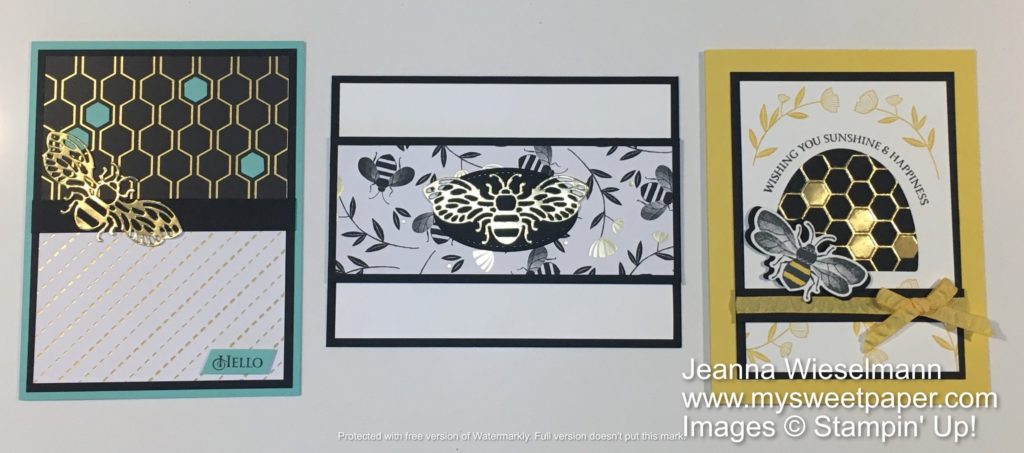
Honey Bee Class by Mail


-
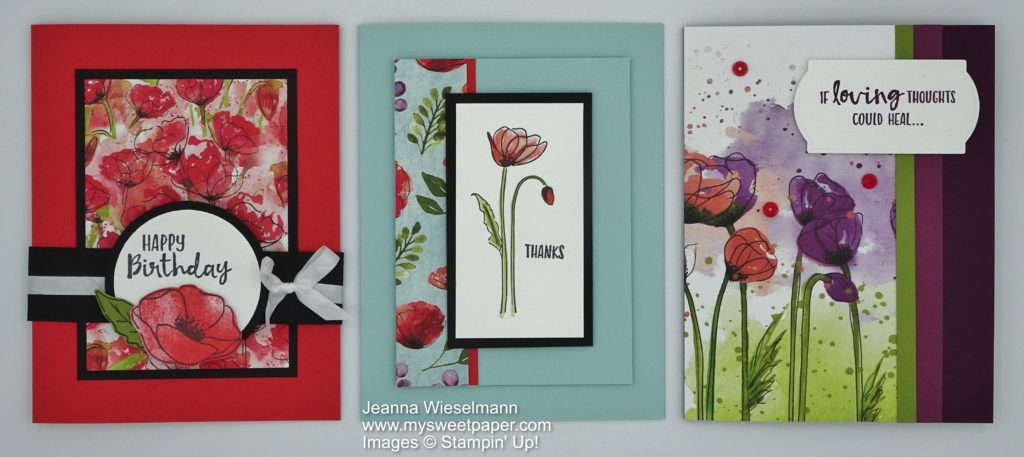
Peaceful Poppies Class by Mail


 Circle Punch")
 Circle Punch")


-
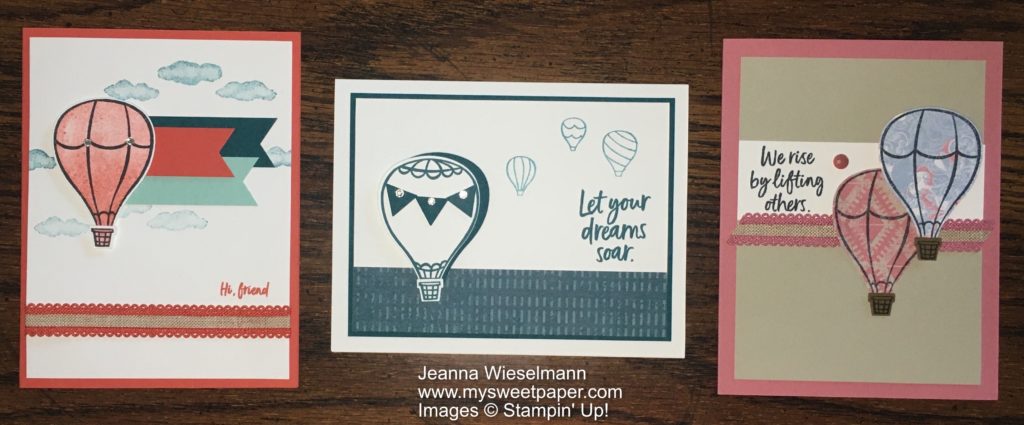
Above the Clouds Class by Mail


-
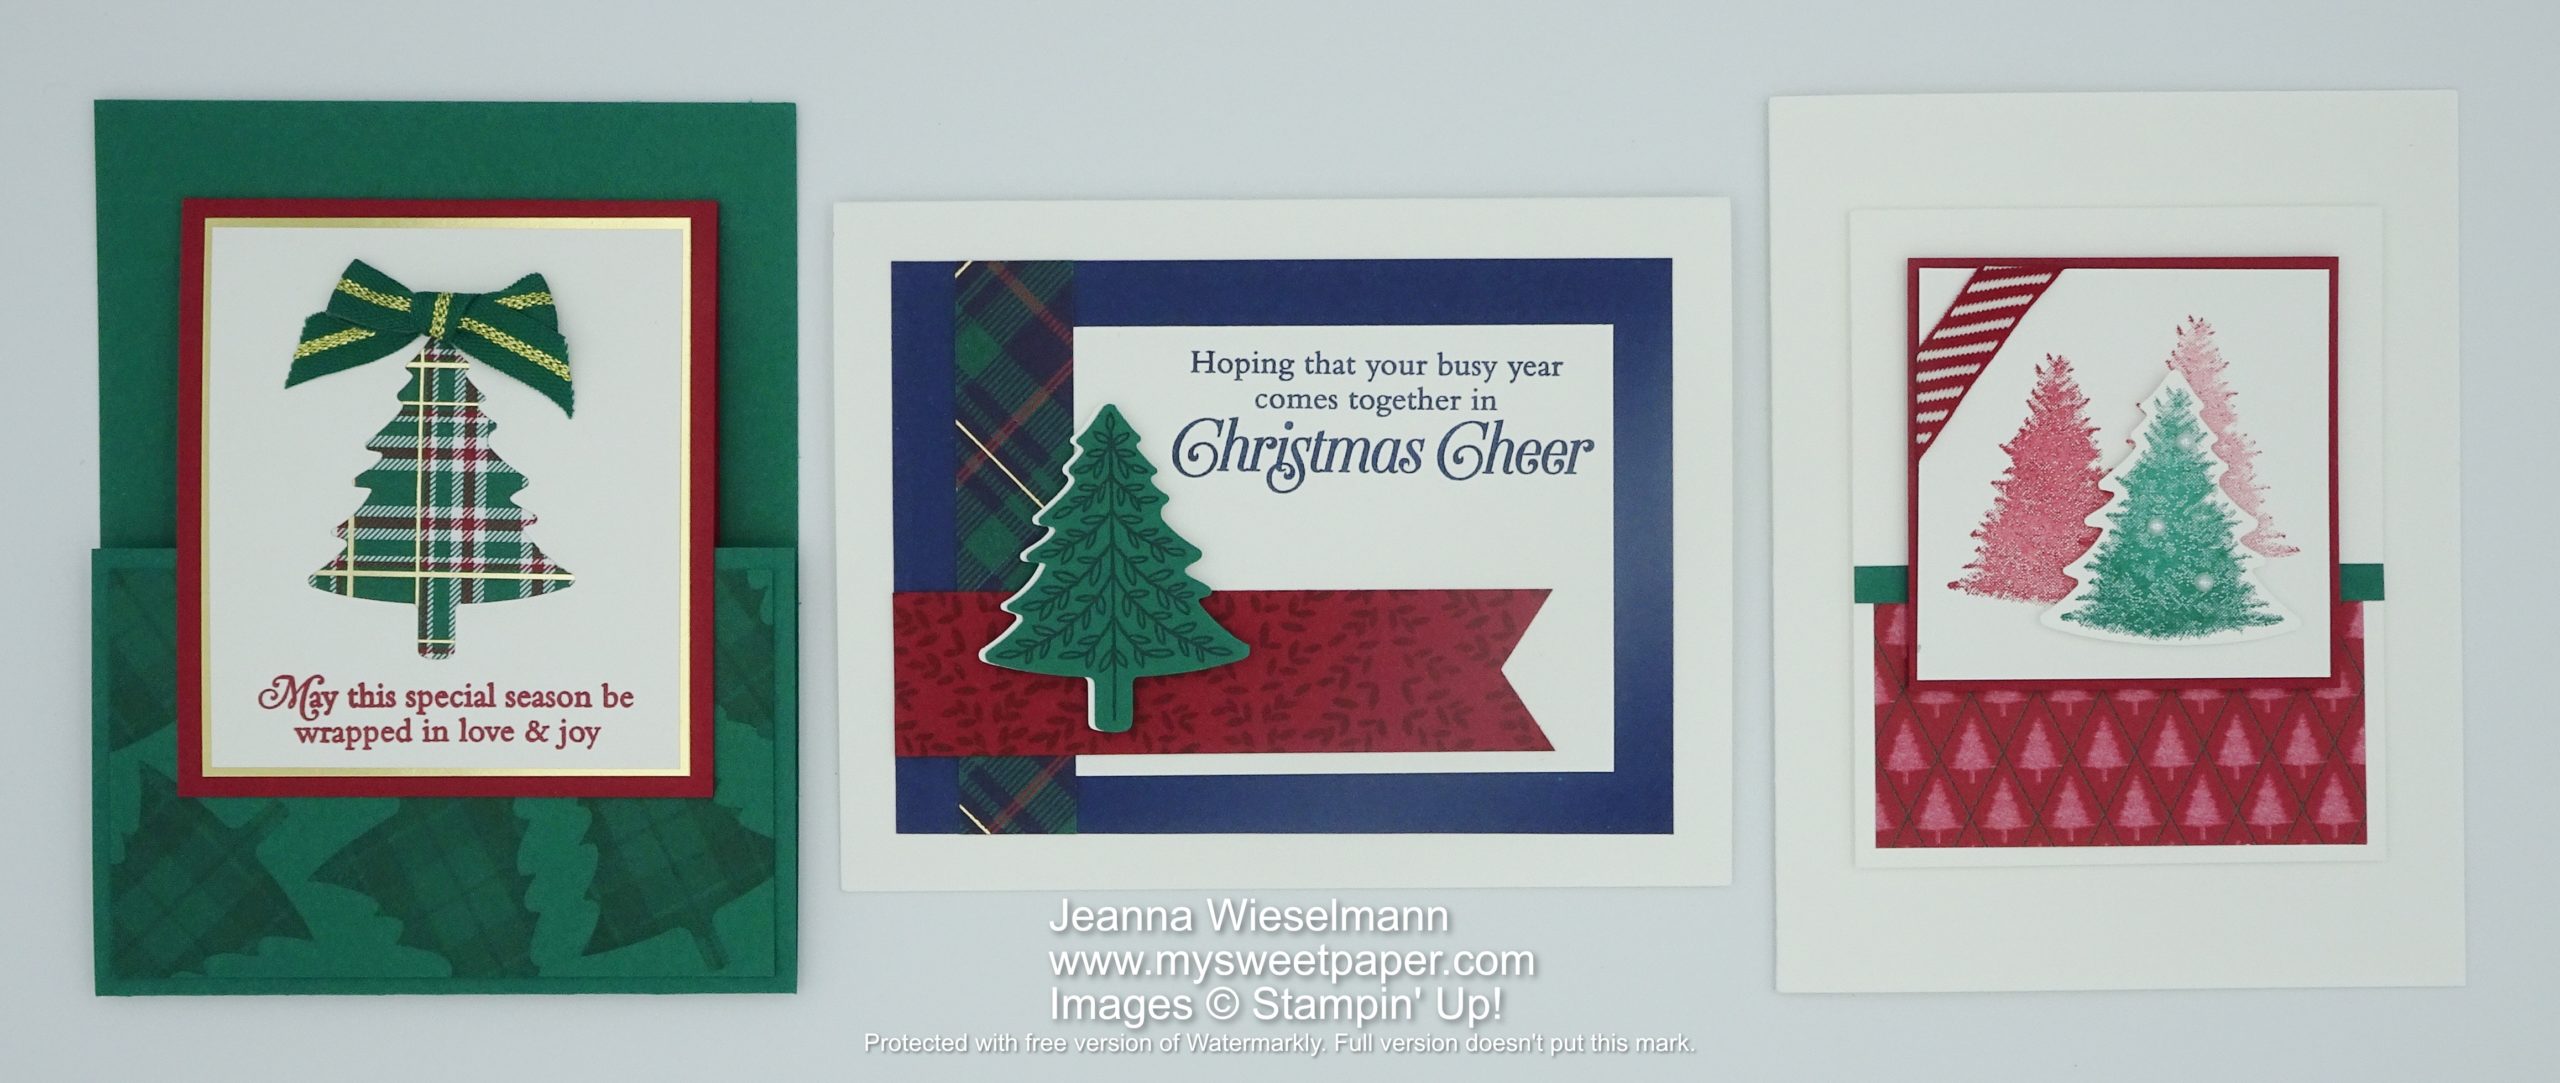
Wrapped in Plaid Class by Mail
")


 Braided Linen Trim")


 Crinkled Seam Binding Ribbon")


 Organdy Striped Ribbon")


")


 Ruched Ribbon")


")


 Scalloped Linen Ribbon")
 Scalloped Linen Ribbon")


 Specialty Designer Series Paper")
 Striped Ribbon")
 Diagonal Stripe Ribbon")


